How to Test the Power Supply to Your Oven
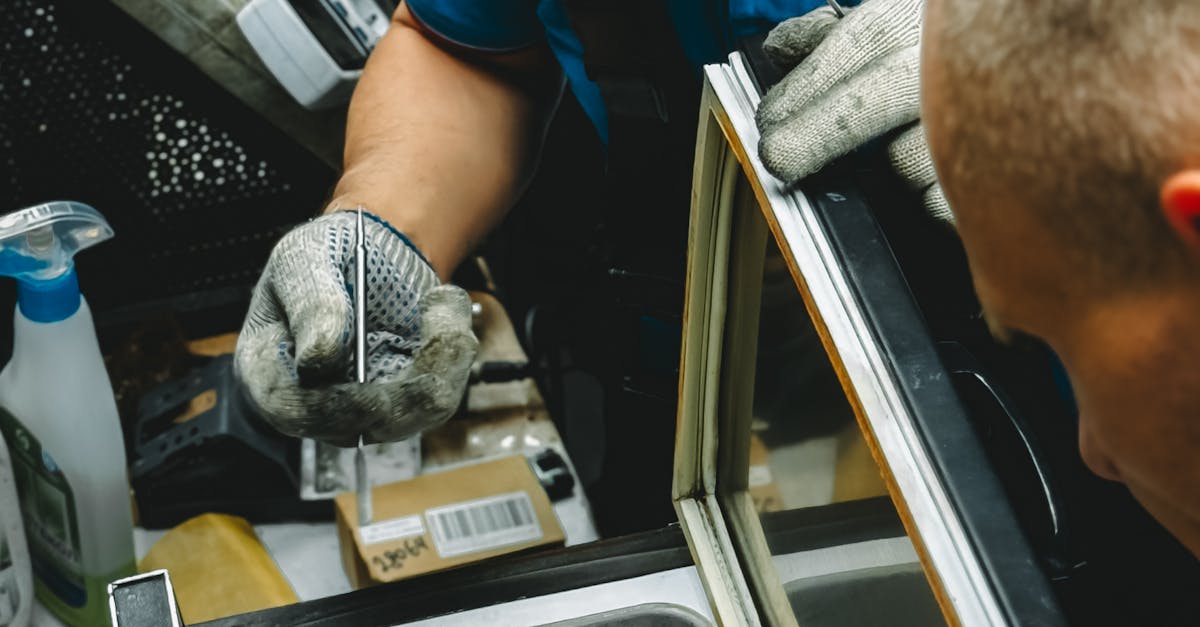
Table Of Contents
Measuring Voltage with a Multimeter
Using a multimeter is a fundamental method for assessing the voltage supply to your oven. To begin, set the multimeter to the appropriate voltage setting, usually indicated by a "V" with a straight line for direct current (DC) or a wavy line for alternating current (AC). Place the black probe in the COM (common) port and the red probe in the VΩmA port. Carefully insert the probes into the power outlet, ensuring that they do not touch each other, which could cause a short circuit.
After positioning the probes, read the display on the multimeter. A healthy power supply should provide a voltage reading within the range specified on the oven's rating plate, typically around 230-240 volts for most household ovens in Australia. If the reading falls significantly below this range, there may be an issue with the power supply to the oven or the wiring in the outlet. In such cases, further investigation may be required to identify the underlying problem.
Step-by-Step Guide to Using a Multimeter
Begin by gathering your tools, including a digital multimeter and safety gear like gloves and goggles. Set up the multimeter by turning the dial to the AC voltage setting, typically denoted by a V with a wavy line. Ensure the probes are securely connected to the appropriate ports, usually marked as COM for the negative probe and VΩ for the positive probe. Before measuring, double-check that the oven is turned off and unplugged to avoid any accidents.
Once the multimeter is ready, plug it back into the outlet. Insert the probes into the outlet slots. Firmly touch the black probe to the neutral slot and the red probe to the live slot. Keeping your hands steady, look at the multimeter's display to read the voltage level. A typical reading for home appliances should range between 230 and 240 volts. If the reading falls below this range, it may indicate a problem with the power supply.
Testing Outlet Functionality
To ensure your oven receives adequate power, testing the outlet functionality is critical. Start by visually inspecting the outlet for any signs of damage such as burns or melted plastic. If everything appears intact, proceed to check if the outlet is operational by plugging in another device, like a lamp or a toaster. If the alternate device works, the outlet is likely functioning correctly, indicating that the issue may lie elsewhere.
In cases where the alternate device does not work, it is necessary to investigate further. Use a multimeter to measure the voltage at the outlet, ensuring it falls within the standard range of 220-240 volts. If the reading is significantly lower or absent, that indicates a problem with the outlet itself or the wiring leading to it. Addressing any issues detected at this stage is essential before moving on to further troubleshooting steps with the oven.
How to Confirm Proper Outlet Operation
Begin by checking if the outlet is live using a plug-in tester or a multimeter. Insert the device into the outlet and look for a light indicator or a voltage reading that shows a minimum of 220-240 volts. If the tester shows no reading or an improper voltage, this suggests the outlet may have issues providing power.
Next, inspect the outlet for any visible signs of damage or wear, such as burn marks or broken components. If the outlet appears damaged, it may need to be replaced. Additionally, you can confirm that other devices plugged into the outlet function properly. If they do not work, it further indicates that the outlet might be malfunctioning and requires attention. Always ensure safety protocols are followed when handling electrical outlets.
Evaluating Internal Oven Wiring
When assessing the internal wiring of your oven, it’s essential to ensure the power supply is disconnected. Carefully remove the oven's rear panel to access the wiring. Look for any signs of damage, such as frayed wires or burned connections. Pay close attention to the wiring harness and connectors, as these can often be points of failure. If you notice any irregularities, documenting them can assist with repairs.
Checking for proper insulation around the wires is vital to prevent electrical shorts. Use a voltage tester to ensure that no live wires are exposed. Inspect any internal fuses or circuit boards for signs of wear or malfunction. These components can disrupt the power flow to the oven. Performing this evaluation can help diagnose issues and guide you towards the necessary repairs.
Identifying Common Wiring Issues
When inspecting internal oven wiring, look for signs of damage including frayed wires or burnt connections. These issues can lead to poor insulation and create a serious hazard. Corrosion at wire junctions is another common problem that can severely affect performance. Checking the integrity of connections and ensuring all wires are securely fastened is crucial for safe operation.
Loose connections can result in intermittent power supply, causing erratic oven behaviour. Additionally, insulation breakdown may expose conductors, creating the potential for short circuits. Maintaining a keen eye for these elements during inspection can prevent future complications and improve overall functionality.
FAQS
What tools do I need to test the power supply to my oven?
To test the power supply to your oven, you will primarily need a multimeter to measure voltage, as well as screwdrivers for accessing the oven’s wiring if necessary.
How do I measure voltage with a multimeter?
To measure voltage, set the multimeter to the AC voltage setting, insert the probes into the outlet or connect them to the oven’s wiring, and read the display for the voltage measurement.
What should I do if my oven is not receiving power?
If your oven is not receiving power, first check the circuit breaker and ensure it hasn't tripped. If the breaker is fine, use a multimeter to check the outlet voltage and inspect the wiring for any visible issues.
How can I confirm if the outlet is functioning properly?
To confirm outlet functionality, test the outlet with a multimeter to ensure it is providing the correct voltage. Alternatively, you can plug in a known working appliance to see if it powers on.
What are common wiring issues that might affect my oven?
Common wiring issues include loose connections, damaged wires, or burnt terminals. Inspect the wiring for any signs of wear or damage, and address these issues to ensure proper power supply to your oven.
Related Links
What to Do When Your Oven Light Turns On but Won't HeatThe Role of Fuses in Oven Heating Problems
Tips for Identifying Electrical Issues in Your Oven Heater
Understanding the Importance of Oven Maintenance for Heating Performance
Checking the Relay Board for Heating Issues in Ovens
Signs That Your Oven Thermostat Might Be Faulty